Inspirations
SEWING TUTORIAL:
“The classic suit jacket“

HAUTE-COUTURE TUTORIAL
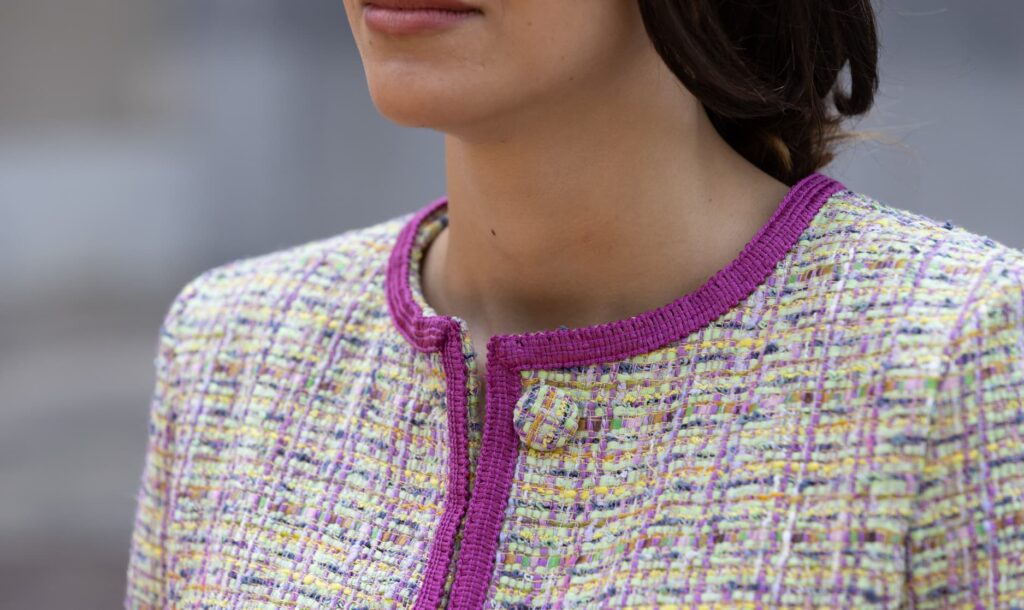
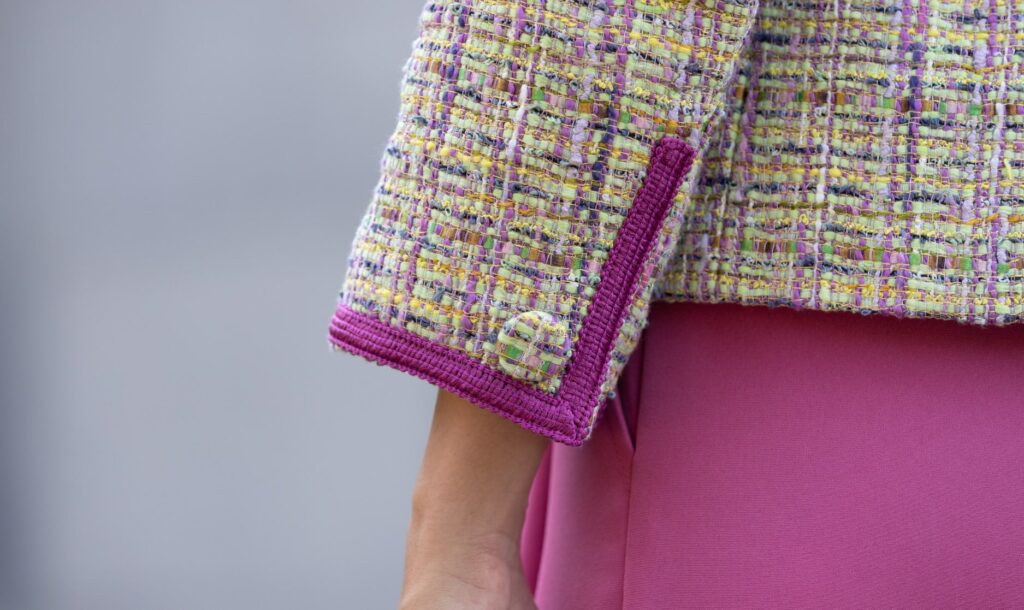
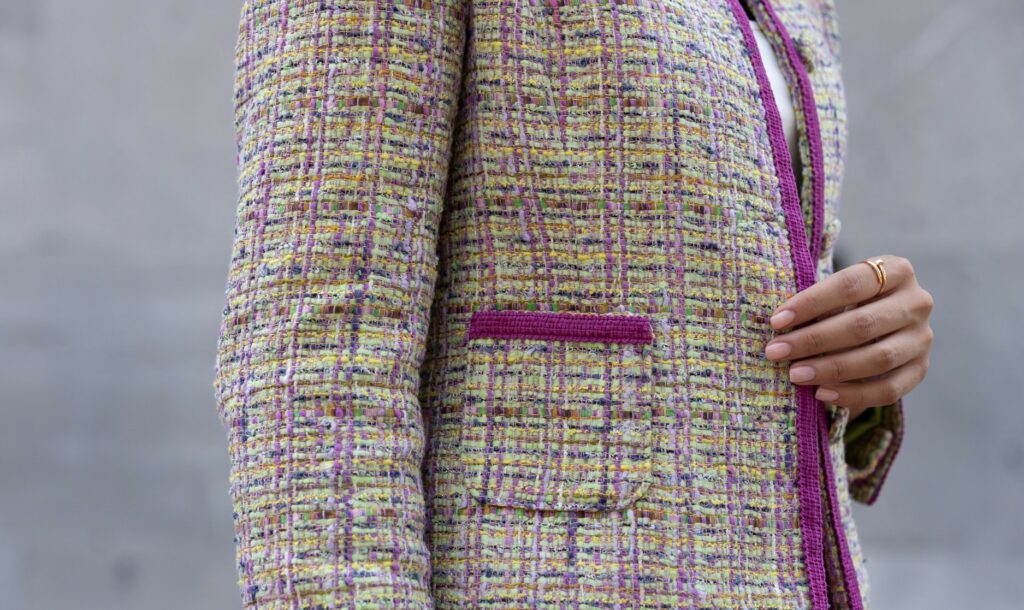
Classic styles are always a great addition to your wardrobe. Add some bright colors and you’ve updated a timeless look into a contemporary piece! Inspired by Chanel, this tweed jacket combines simplicity and elegance – a classic look created by the great couturier. This short, slightly fitted, collarless jacket also includes bound edges and patch pockets, adding a dash of color to your wardrobe.
![]() MATERIAL
MATERIAL
- Solid Tweed fabric: 1.70 x 140 cm (60″ width X 1 7/8 yards)
- Printed Tweed fabric: 2.10 x 140 cm (60″ X 2 1/3 yards)
- Lining fabric 120 x 140 cm (60″ X 1 1/3 yards)
- Fusible Interfacing 90 x 150 cm (60″ wide X 1 yard)
- One pair of medium size shoulder pads
- One 3 x 30 cm (1″ wide X 12″ )length of fleece
- 6 x ø 2.3 cm (Six 3/4) covered buttons
- 3 m (1/2″ ) wide contrasting trim
- Polyester sewing thread
![]() MACHINES AND ACCESSORIES
MACHINES AND ACCESSORIES
- Sewing machine and overlock. elna eXcellence 790PRO and elna eXtend 864air are used and recommended for this tutorial.
- Dual Feed Plus professional foot – narrow system HP2 (Ref.: 202-416-005)
- Automatic buttonhole foot R with stabilizer plate (Ref.: 202-030-001)
Size
- 38 / 42
![]() SEWING TIPS
SEWING TIPS
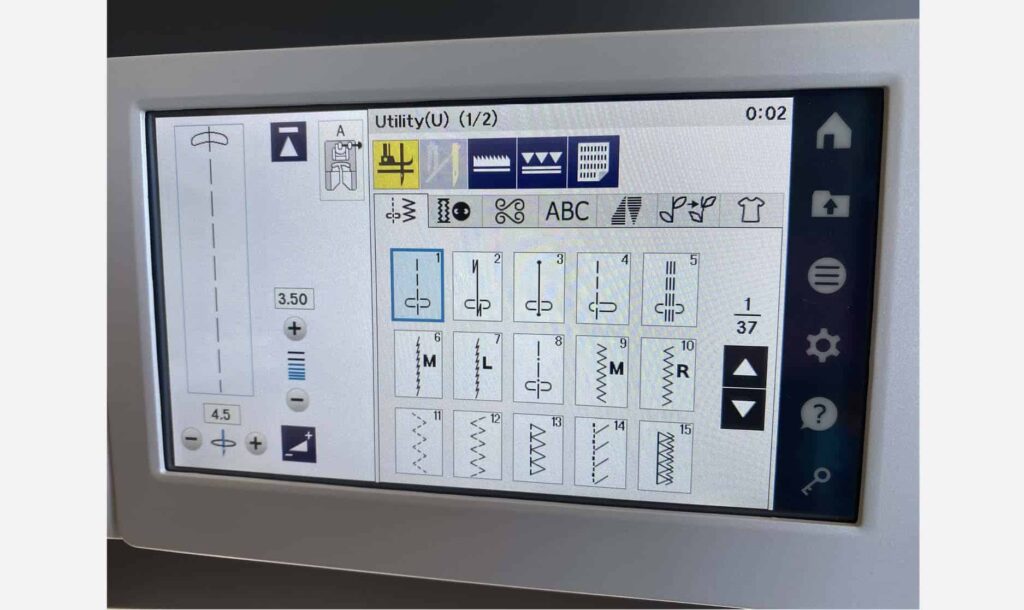
1.
Use the “Presser foot up” feature of your eXcellence 790PRO. In the low position, the needle stops as the presser foot raises slightly at every needle stop. This will make guiding your fabric easier, especially when sewing curves and angles.
2.
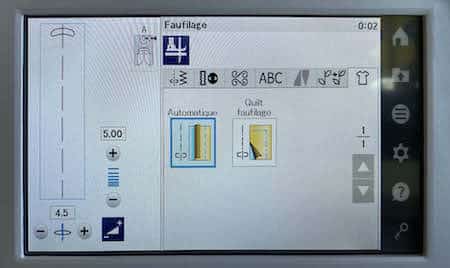
The programmed basting stitch will save you time on all your sewing projects.
3.
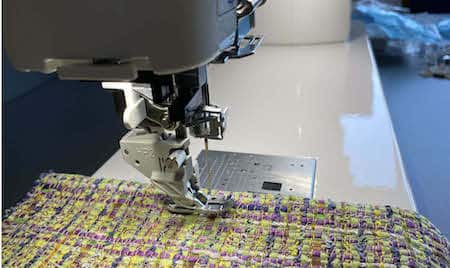
To sew lined or square fabrics, use the dual feed presser foot to shifting fabric. The eXcellence 790PRO includes Dual Feed foot AD and Dual Feed Plus narrow HP2 as standard accessories.
![]() METHOD
METHOD
1.
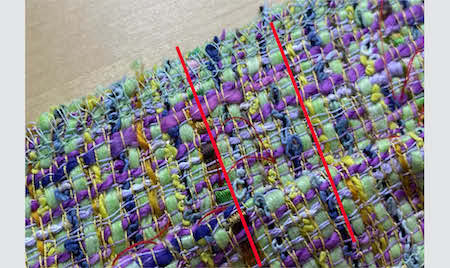
- Fold your fabric in half, right sides together, if your fabric is patterned, lined or chequered. Pin the two layers of fabric together. Check that they overlap correctly.
- Place your pattern making sure the lines match the layout. Tweed fabrics are subject to fraying. Be sure to leave enough seam allowance depending on your fabric. Between 2.5 and 3 cm as well as 5 cm (1″ and 1 1/4″, as well as 2″ ) for the hem. Cut and tailor stitch over the sewing marks. To prevent your fabric from fraying while you work, finish the edges of your fabric pieces using a wide 3-thread overlock stitch from the eXtend 864air or with a wide zig-zag stitch of 7 mm with your eXcellence 790PRO.
- Fold your lining in half, right sides together, and lay out your pattern. Mark a seam allowance of 2 cm (7/8″). Cut and use the wheel to mark your sewing marks.
2.
Cut and iron on the interfacing as follows.
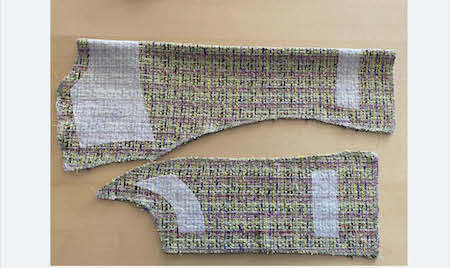
Back
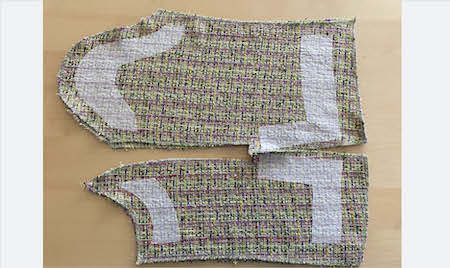
Sleeves
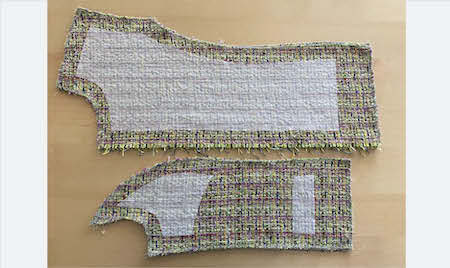
Front
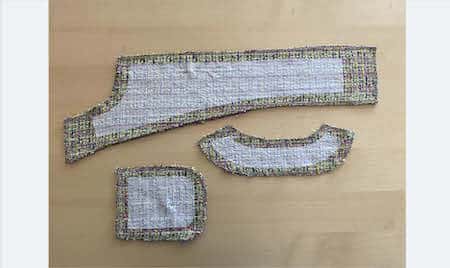
Pockets and facings
![]() BOUND BUTTONHOLES
BOUND BUTTONHOLES
1.
In the bias strip of your fabric, cut (warp thread, bias strip).
From the bias strip of your lining cut 4 x 9 x 9 cm (1-1/2″ X 3-1/2″ X 3-1/2″).
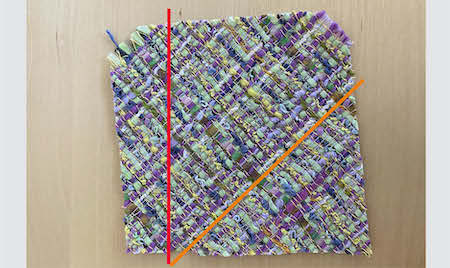
- Mark the desired location for your buttonholes.
- On the back of each buttonhole, pin, right sides together, the 9 x 9 cm (3-1/2″ square) fabrics cut from the bias strip.
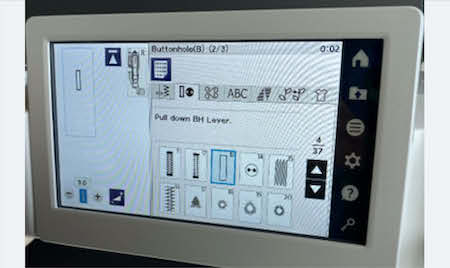
- With the eXcellence 790PRO model, select the bound buttonhole from the buttonhole tab. For this fabric, set the buttonhole width to 9 mm.
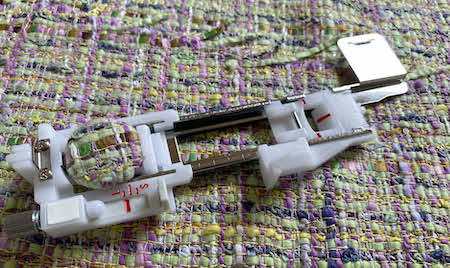
- Since the button is quite thick, position your automatic buttonhole foot on L for greater buttoning ease.
2.
Sew your buttonholes.
Using small pointed scissors, notch along the red line.
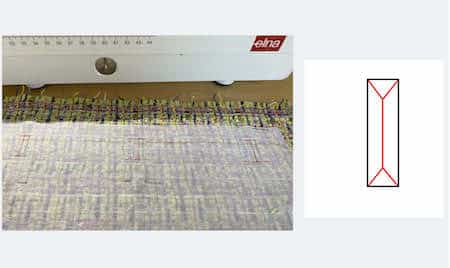
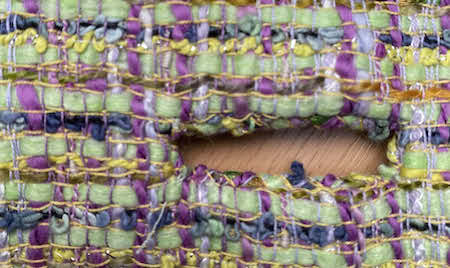
5. Pull the fabric square through the hole.
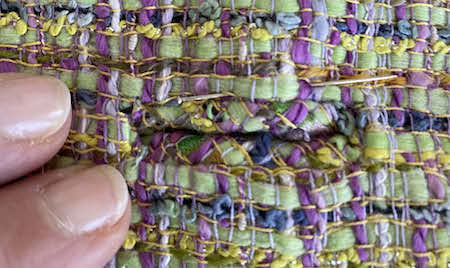
6. Fold the fabric to form the little lips of the bound buttonhole.
7. Secure them with a hidden hand stitch along the seam.
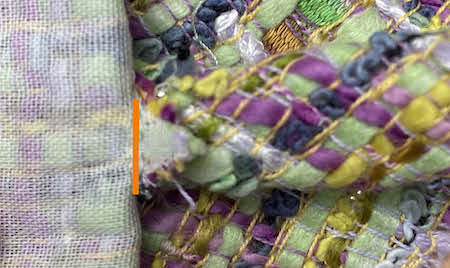
8. On the inside, sew with a straight stitch along the triangle of the fabric on each side of the buttonhole.
Repeat the procedure from 1 to 5 using 4 x 9 x 9 cm (3 1/2″ square) of lining on the front facing, as this will avoid excess thickness. Sew and notch your buttonholes according to the diagram. Turn the facings (lining) inside out and iron them.
3.
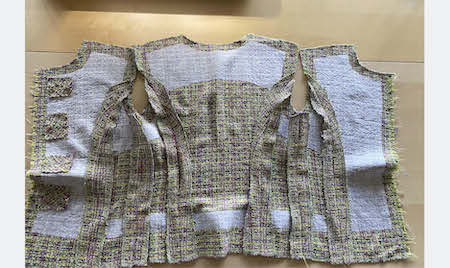
- Gather the back and front pieces of the fabric and lining.
- Sew the shoulder seams of the fabric and the lining together.
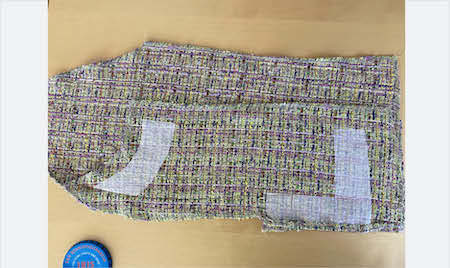
- Fabric: Gather the back seam of the sleeves following the slit’s marking.
- Lining: Gather the seam of the sleeve following the slit’s marking.
- Iron all seams open.
![]() FACING
FACING
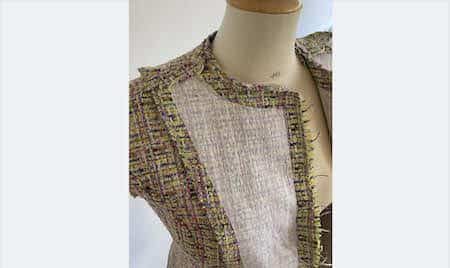
Sew the shoulder seams of the facings and iron them open.
Lay your facing right sides together, and sew the fronts and the neckline.
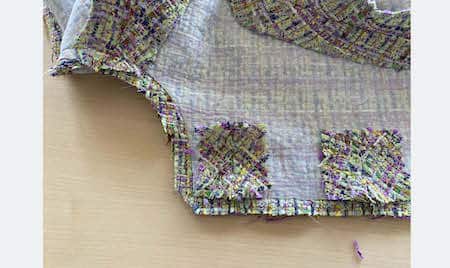
Even out your seam, and notch the angles and curves.
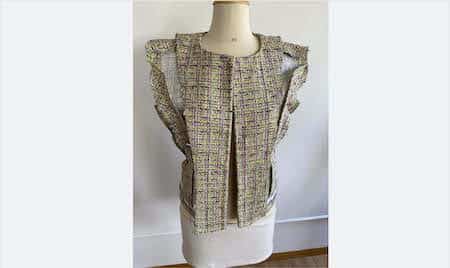
Turn the facing inside out and secure with a basting stitch.
Place the facing and front buttonhole openings next to
each other and secure all around with a hidden stitch.
![]() SLEEVE HEM
SLEEVE HEM
1.
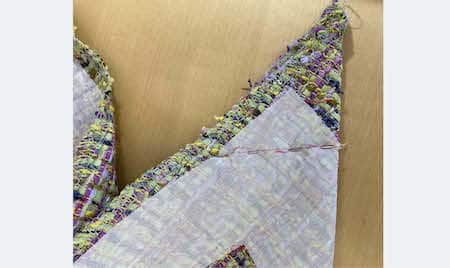
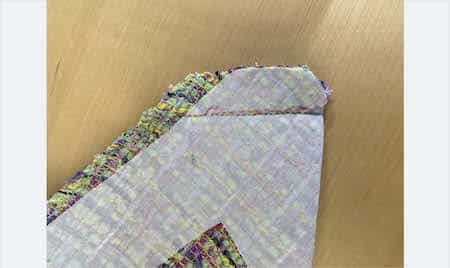
Mark your seam line, fold your fabric over the fold line and sew the angles.
Cut the seam allowance, notch the angle and iron the seam open.
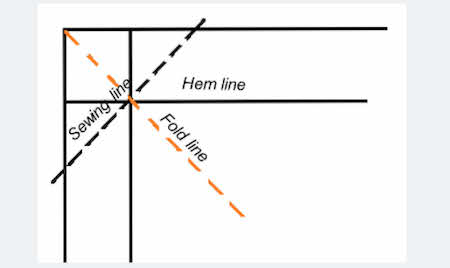
2.
- Flip the angle.
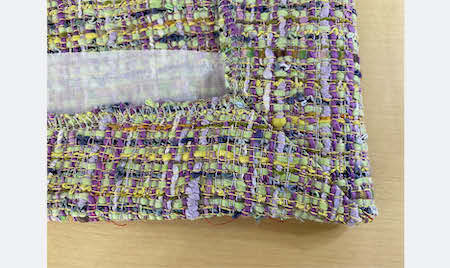
- Finish the other side of the slit with a 2 cm (7/8″) recess.
- Sew the second sleeve seam (you can also place your trimmings first and then close up the second seam).
- Prepare and sew your hem with a blind stitch.
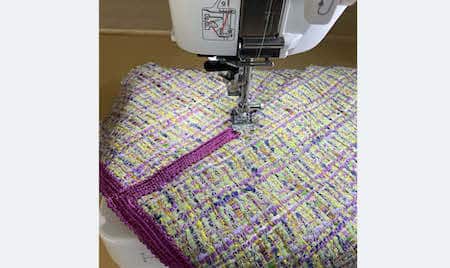
- Place the trimmings along the hem and the slit, and then sew a 3.5 mm (1-3/8″) length on each side with a straight stitch.
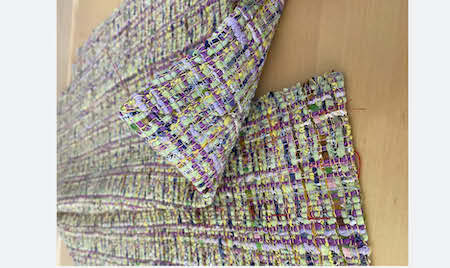
3.
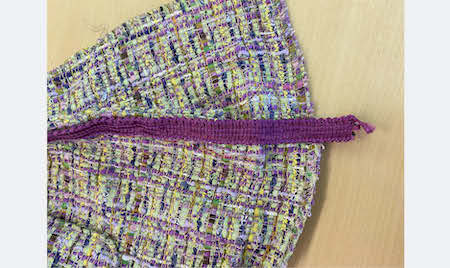
- Place your trim around the circumference of your jacket starting from the hem on one side.
- On the first 10 centimetres ( 4 inches) of each side, do not include the facing in your measurement, but place it over the simple fabric, keeping the facing seam open. Then fold back the facing and continue holding the fusible seam tape under all the layers.
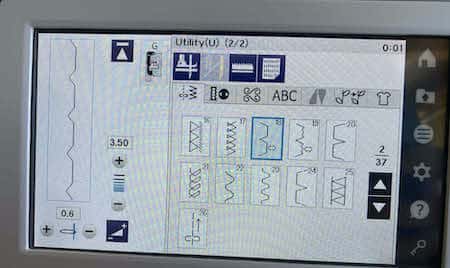
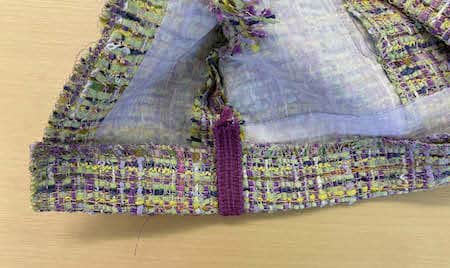
Fold over your hem length, iron it and sew it with the hidden stitch 18 and the G foot of your eXcellence 790PRO.
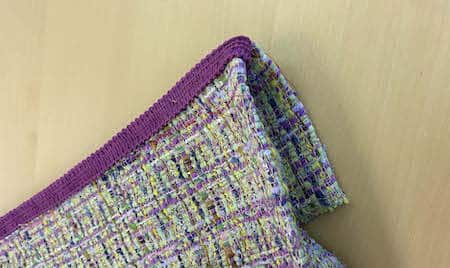
- Refold the facing.
- Sew the trim on each side.
- Adjust the stitch length to the thickness of your fabric. This model was sewn with a stitch length of 3.5 mm.
![]() POCKETS
POCKETS
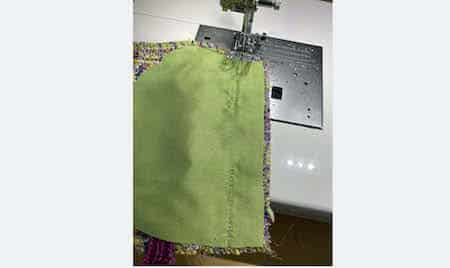
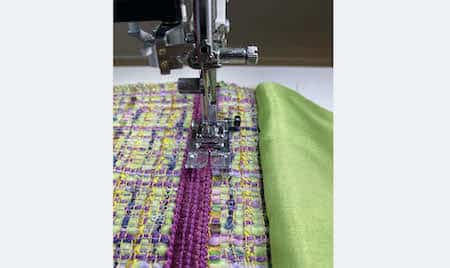
Sew the lining right sides together on the back of the pocket, leaving an opening in the middle to be able to turn your pocket inside out.
Sew your trim on the wrong side under the fold mark.
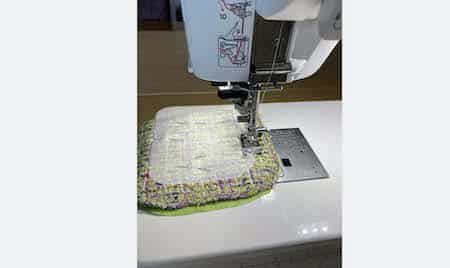
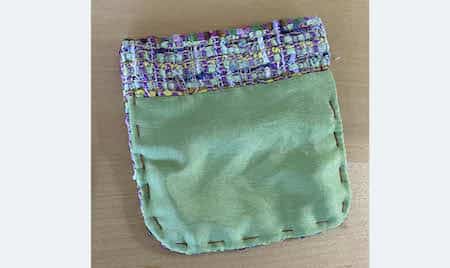
Refold over the fold, right sides together, and sew around the pocket.
Turn over. Baste and iron the pocket and hand sew the opening closed with an invisible stitch.
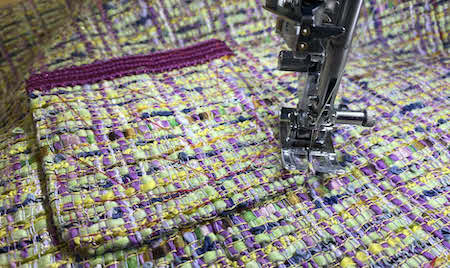
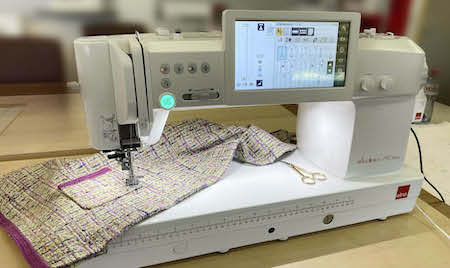
Place the pockets over the marks, then baste and sew a few millimetres (about 1″) from the edge, adjusting the length of your stitch. For this fabric, the length used is 3.5 mm.
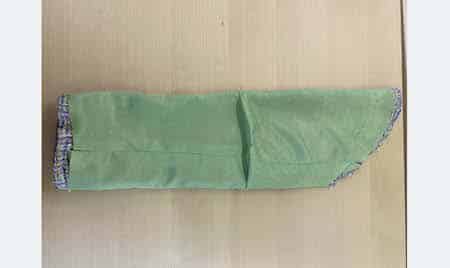
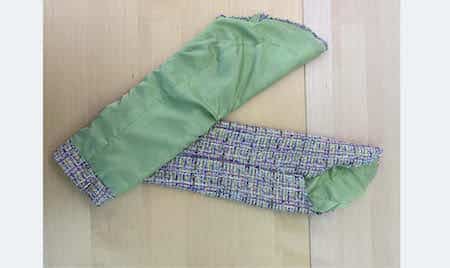
- Pin your sleeve lining wrong sides together and seam to seam.
- With a few pins, create a small fold halfway up the sleeve for ease.
- Fold over and pin the lining to the bottom of the sleeve about 3 cm (1″) from the edge.
- Sew with a hand hem stitch and iron.
- On the top of the sleeve, about 4 cm (1 1/2″) from the edge, hold the lining with a basting stitch.
- Remove the pins from the pleat.
- Lay the sleeves following the markings of your pattern.
- If your fabric has lines or patterns, check that these fit snugly on the top of the sleeve.
- Always sew with the sleeve facing up.
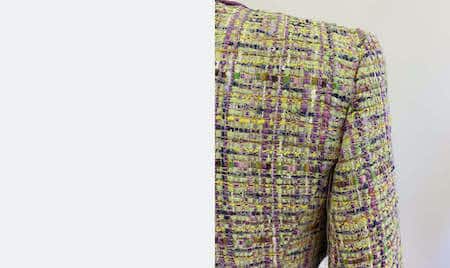
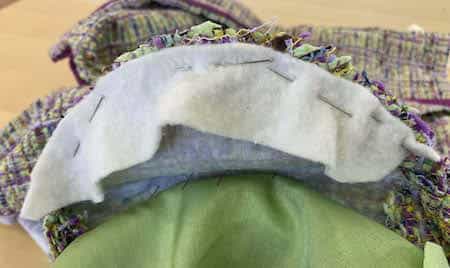
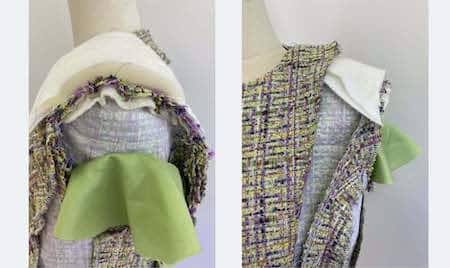
- Cut a 2 x15 cm (7/8″ X 6″) strip of fleece, and mark the middle.
- Place the fleece strip over the seam, sleeve side. Place the middle mark on the shoulder seam and even out on each side.
- Sew with a 5 mm long straight stitch.
- Place and secure your shoulder pads.
- Fold the neck facing over the shoulder pad and secure it with a few hand stitches.
- Secure the entire facing with a hand stitch.
- Do not pull much on your thread so as not to mark the facing on the outside.
![]() FITTING THE LINING
FITTING THE LINING
- Turn your jacket inside out.
- Lay your lining wrong sides
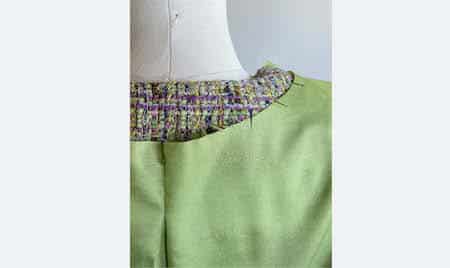
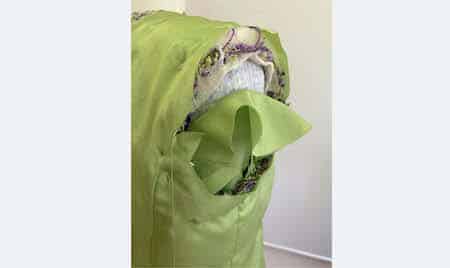
Start by pinning the pleat to the middle back, and slightly notch the curve.
Pin the lining to the shoulder seam and all around the armhole.
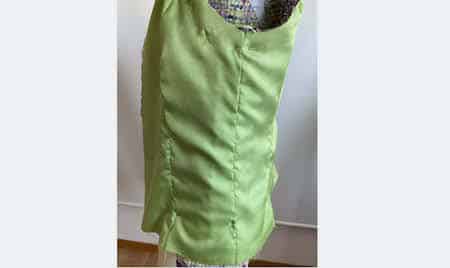
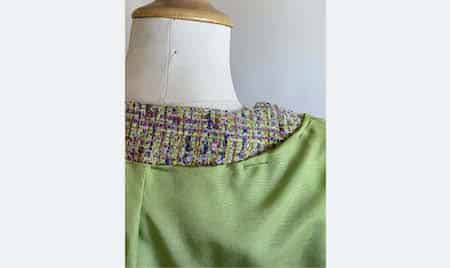
Overlap your lining and jacket seams and pin.
Around the neckline, fold the seam allowance to the inside and pin.
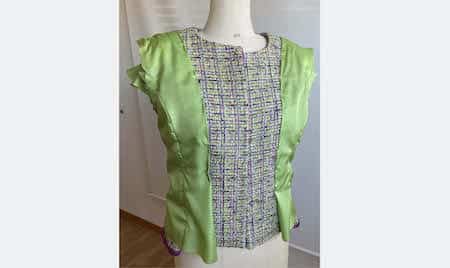
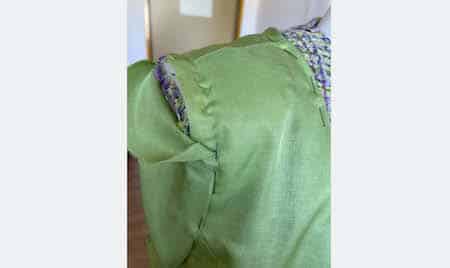
On the front, place your lining at the edge of the facing and fold, then cut the excess lining if necessary.
Trim the excess lining around the armholes and secure with a long front stitch. Refold the sleeve lining, covering the front stitch.
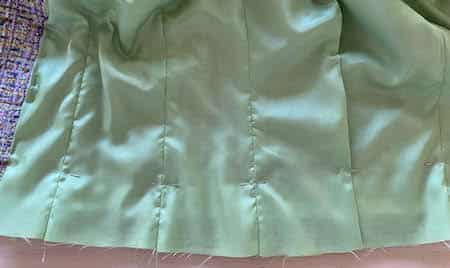
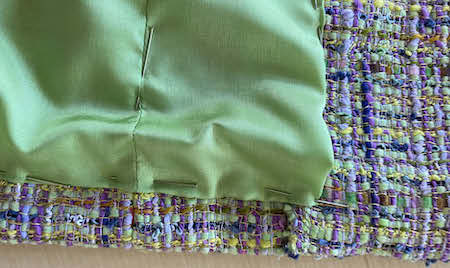
- Lay your jacket out flat with the lining towards you.
- Fold the bottom of the lining 1 cm (⅜”) from the edge of the hem.
- Using an iron, mark the fold.

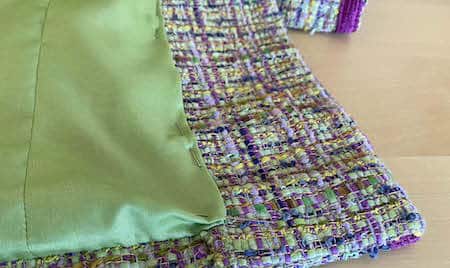
- Raise the bottom of your lining 3 cm (1″) from the edge of the hem.
- Create a back pleat 1 cm (3/8″) deep on the corners.
- Secure your lining all around the circumference as well as the lining of the sleeves with a hidden stitch. Then iron your seams.
- Remove any tailor stitches, basting threads and pins that may be left on your jacket.
- Place and sew the buttons that you previously covered.
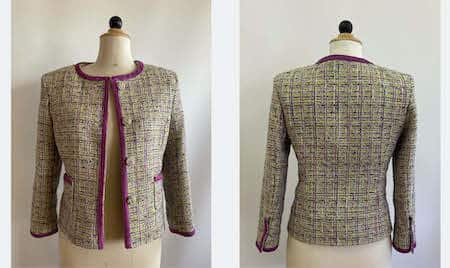


Congratulations, your jacket is ready!
Would you like to reproduce the pants worn by our model or the matching shorts?
The tutorials will be available soon!
© Elna International Corp. SA, all rights reserved
Copyright
The authorization to use this documentation is hereby granted exclusively for non-commercial use. The contents of this documentation are the sole property of Elna International Corp. SA. This documentation shall not in any way constitute a right to transfer any rights with respect to copyrights of Elna International Corp. SA to the user or to third parties.


