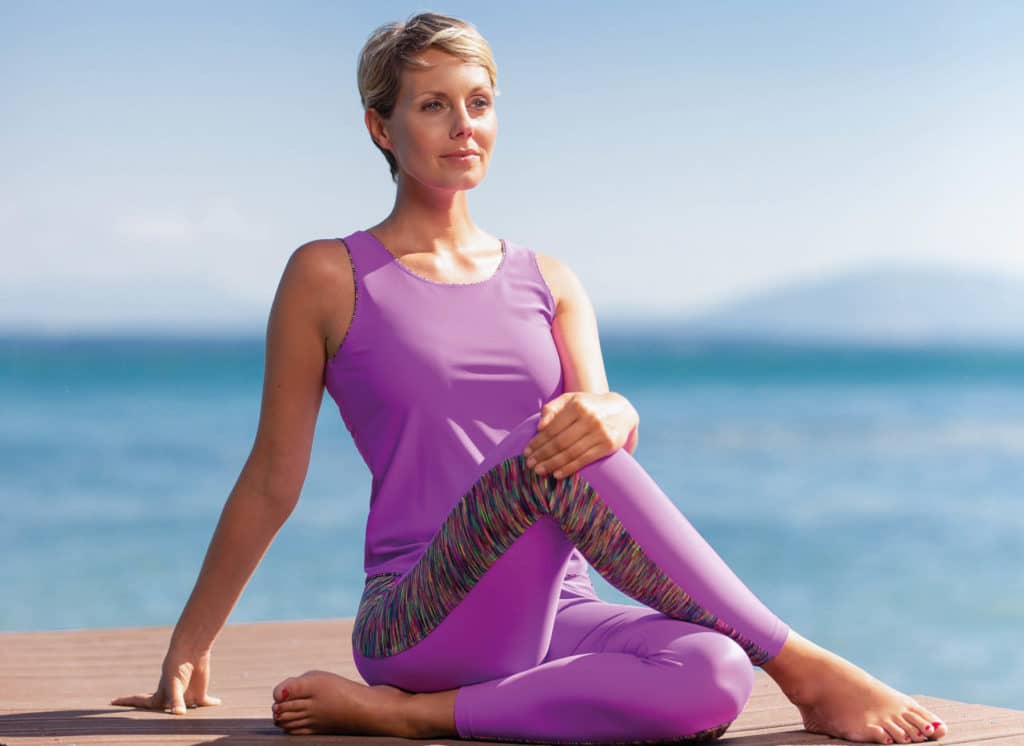
Inspirations
SERGING TUTORIAL:
“Yoga top”

![]() MATERIALS
MATERIALS
- downloaded sewing pattern
- 120 cm (1 1/3 yard) of plain lycra of 140 cm width (55″)
- 10 cm (1/8 yard) of printed lycra of 140 cm width (55″)
- 4 plain thread cones
- size 80 EL needle
- chalk
- scissors
- pins
- safety pin
![]() ACCESSORIES
ACCESSORIES
- eXtend 664PRO
- easycover
- Clear view cover stitch foot (Ref.: 795-818-118)
![]() INSTRUCTIONS
INSTRUCTIONS
1.
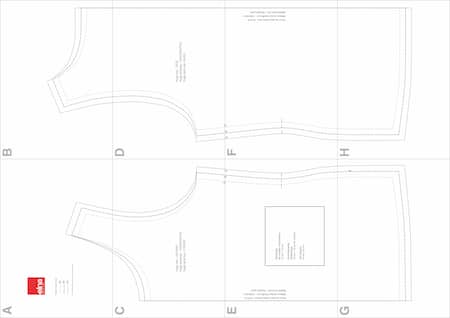
Download the sewing pattern available on the elna website under the “Inspiration” section. To start, only print the page with the selection window. Using a ruler, check that the window measures exactly 10 x 10 cm (4″ x 4″), then print the remaining pages.
The pattern is made up of several sheets that must be joined together using the markers (letters and lines). Once the pattern is assembled, adapt the pattern to fit your measurements and cut the pieces.
2.
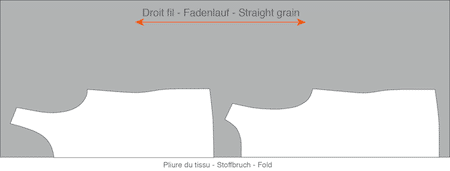
Fold the fabric in half, right side up, aligning selvedges and secure with pins.

3.
Place the pattern over the fabric with the centre back and centre front over the fold of the fabric. Cut the fabric, leaving 1 cm (1/4″) of seam allowance width all around your pattern.
4.
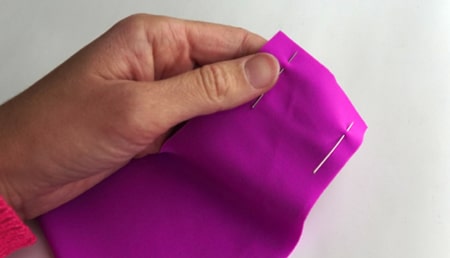
Right sides together, pin the shoulder seams and use the 4-thread overlock stitch to tack these together.
5.
Cut two strips 5 cm (2″) wide of the printed lycra. On each strip, cut:
- Two strips the length of the armholes (we recommend that you fit the front shoulders in order to obtain the right length).
- One neckline size strip plus 2 cm (5/8″) of seam
- One strip the length of the hem plus 2 cm (5/8″) of seam.
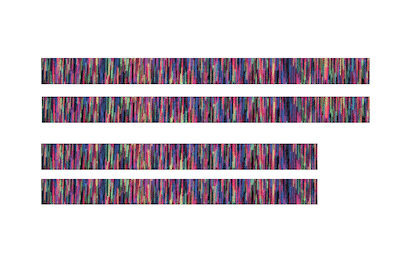
6.
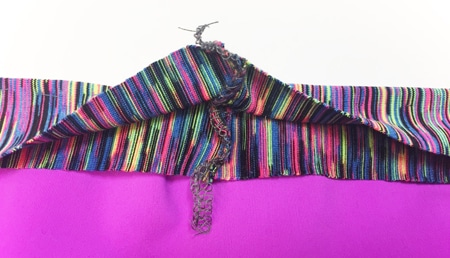
- Right sides together, use the 4-thread overlock stitch to tack the strip ends together for the neckline and hem. Fold the strips in half widthwise and mark the fold with the iron.
7.
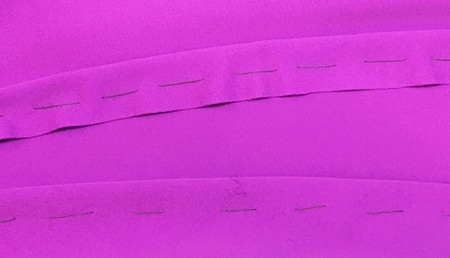
On the back of the fabric, fold 1 cm (1/4″) around the neckline and armholes and then thread with a basting stitch.
8.
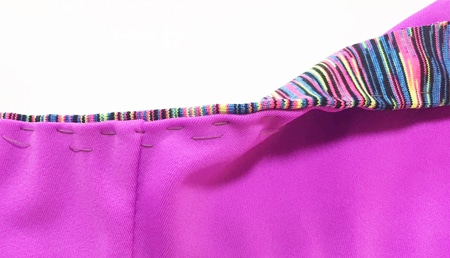
Neckline: split the neckline in four and mark with pins. Place your strip over the neckline leaving it protrude by 3 mm (1 1/4″). Place your markers (pins) on the centre front, centre back and shoulder seams. Baste around the neckline.
9.
Install the «Clear view cover stitch foot» on your easycover for easy guiding and stitch in place using the 3-thread narrow cover hem program.
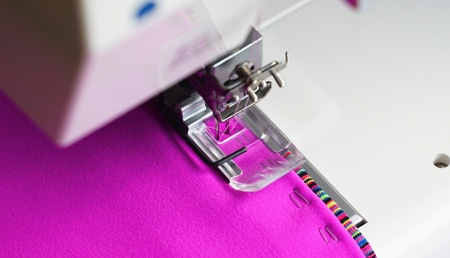
10.
Once tacked together, cut the excess fabric on the back side.
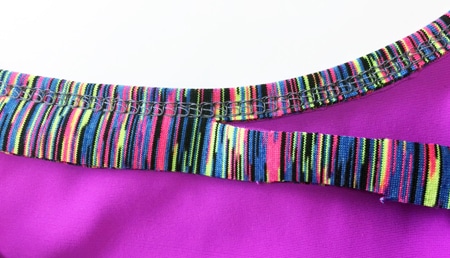
11.
Armholes: split the strips for the armholes in two and position the marker on the shoulder seam. For the fitting, proceed as for the neckline.
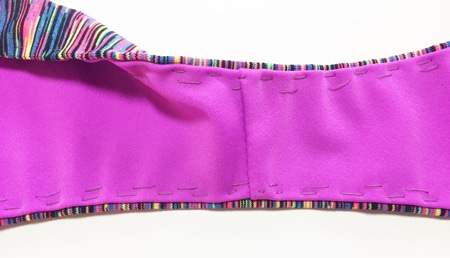
12.
Place the front and back of the top right side up. Pin and tack the sides with a 4-thread overlock stitch.
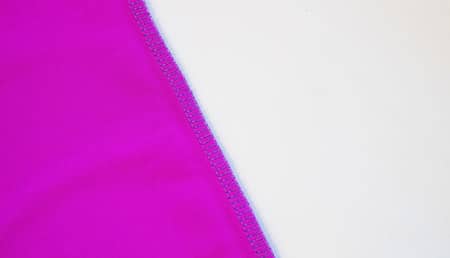
13.
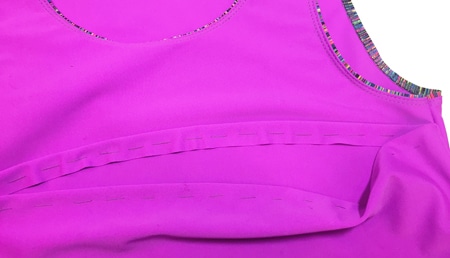
Fold the bottom hem under 1 cm (1/4″) and then thread. Split the strip for the hem in two and mark with pins. Place the markers (pins) on the side seams. For the fitting, proceed as for the neckline. Turn inside out and cut the excess fabric.
14.
Turn inside out and cut the excess fabric.
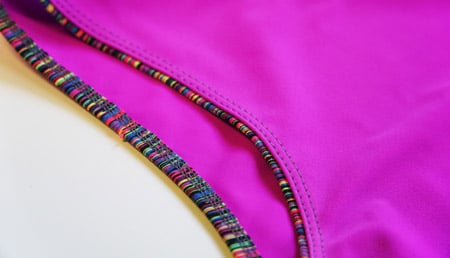
Congratulations, your yoga top is all done!
© Elna International Corp. SA, all rights reserved
Copyright
The authorization to use this documentation is hereby granted exclusively for non-commercial use. The contents of this documentation are the sole property of Elna International Corp. SA. This documentation shall not in any way constitute a right to transfer any rights with respect to copyrights of Elna International Corp. SA to the user or to third parties.


