Inspirations
EMBROIDERY TUTORIAL:
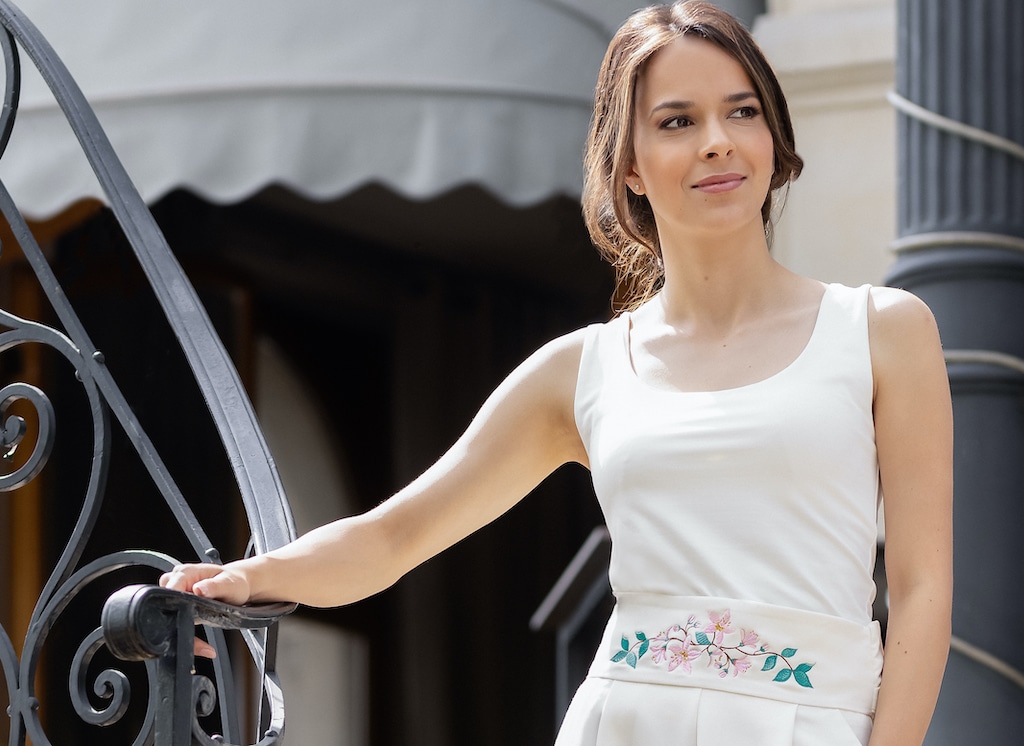
“Cherry twigs embroidery”
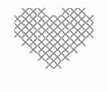
![]() MATERIALS
MATERIALS
- Pants or any other suitable garment or accessory
- Machine embroidery thread
- Thread for spool
- Non-woven self-adhesive embroidery backing,
e.g. Vlieseline’s Filmoplast
![]() MACHINE AND ACCESSORIES
MACHINE AND ACCESSORIES
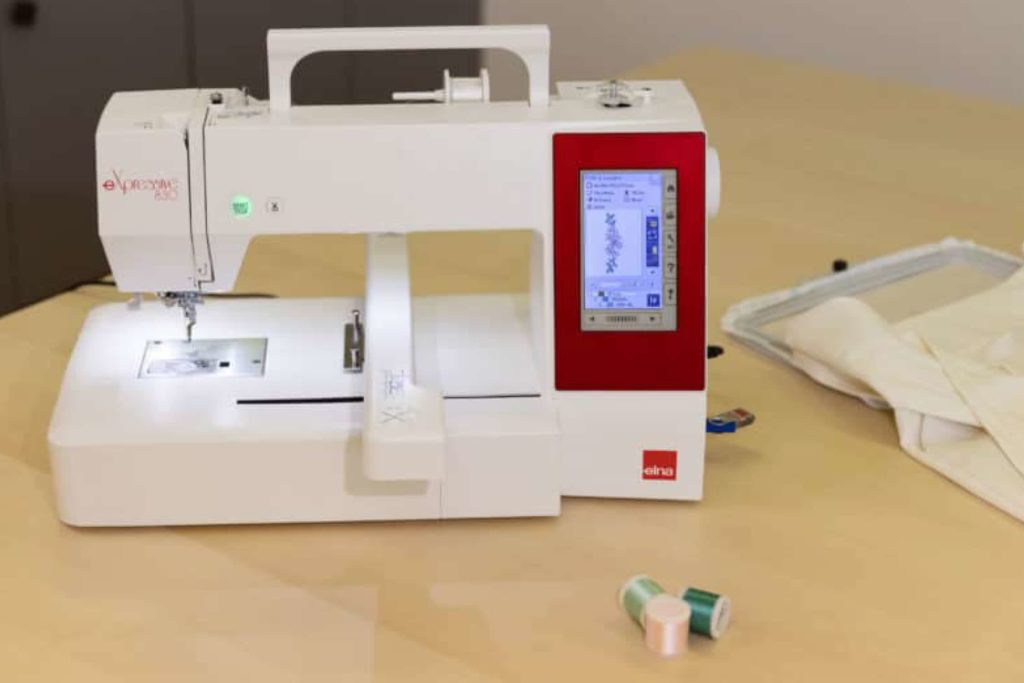
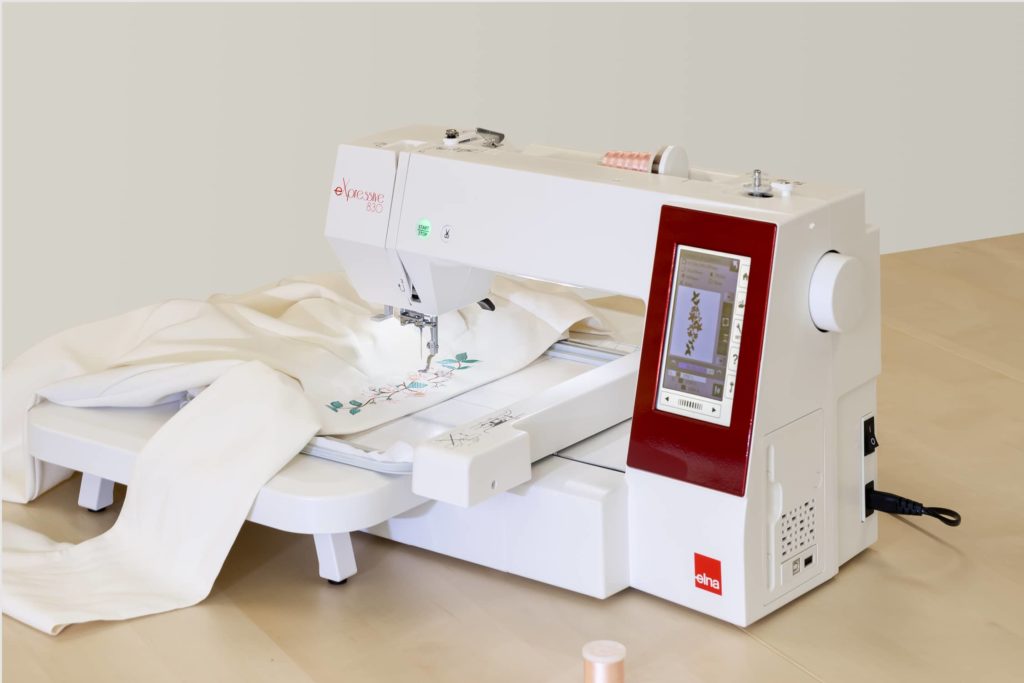
- Elna embroidery machine. In this tutorial we used the elna eXpressive 830.
- Embroidery foot P
- Embroidery hoop. For this project we used the rectangle hoop RE28b (200 x 280 mm).
![]() INSTRUCTIONS
INSTRUCTIONS
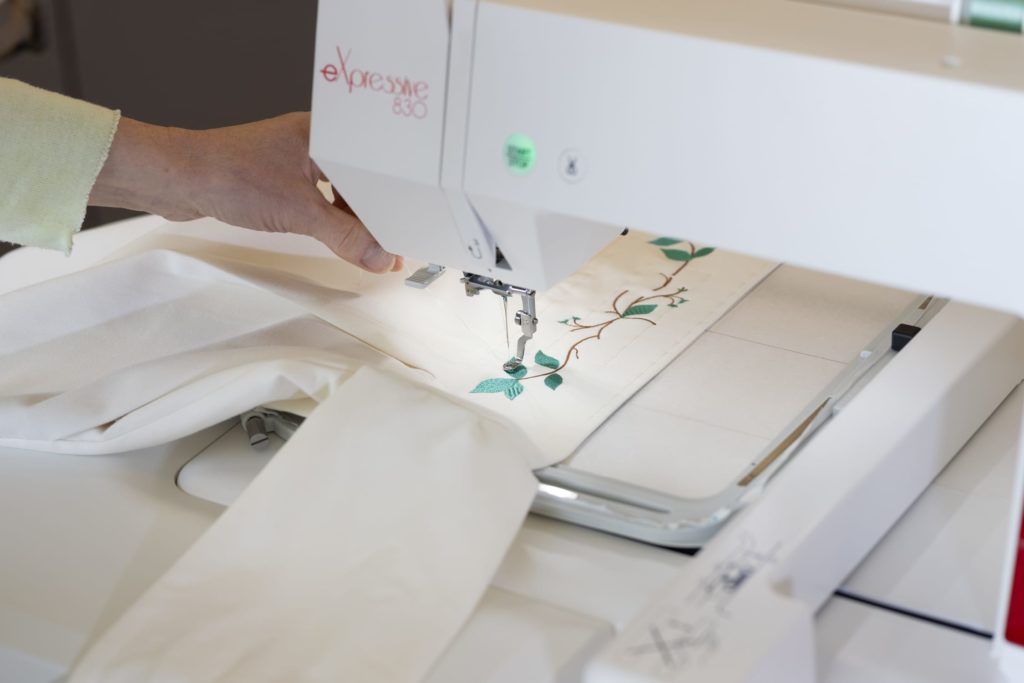
1.
Choose the area you would like to embroider and adapt the hoop size according to the embroidery you have chosen and the model of your machine.

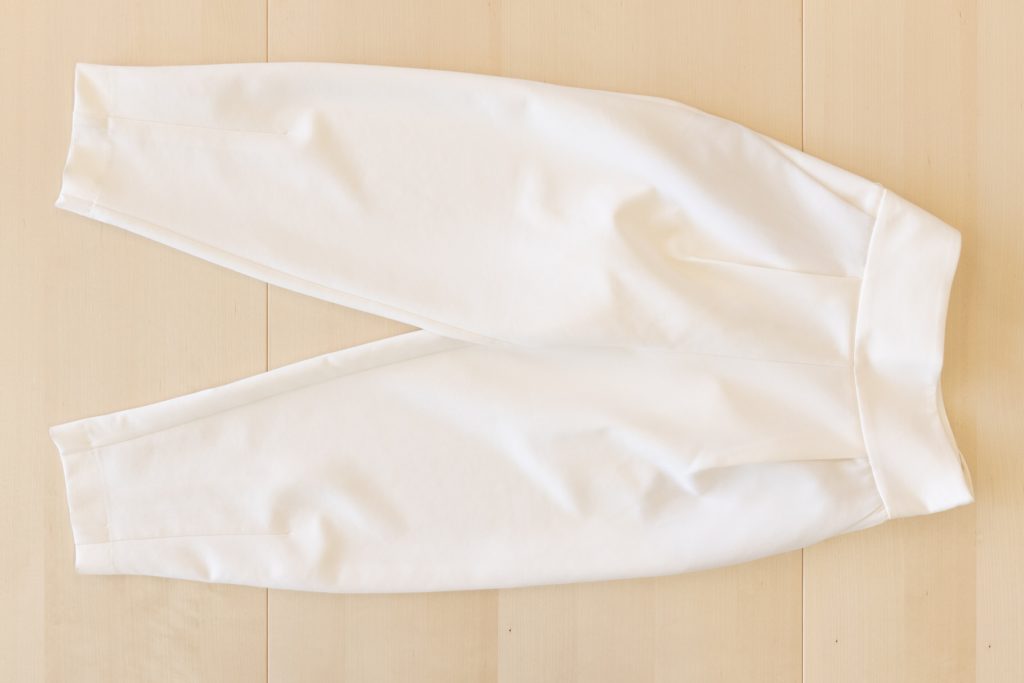
2.
Fold the pants and mark the center of the waistband with a needle that will match the center of the hoop.
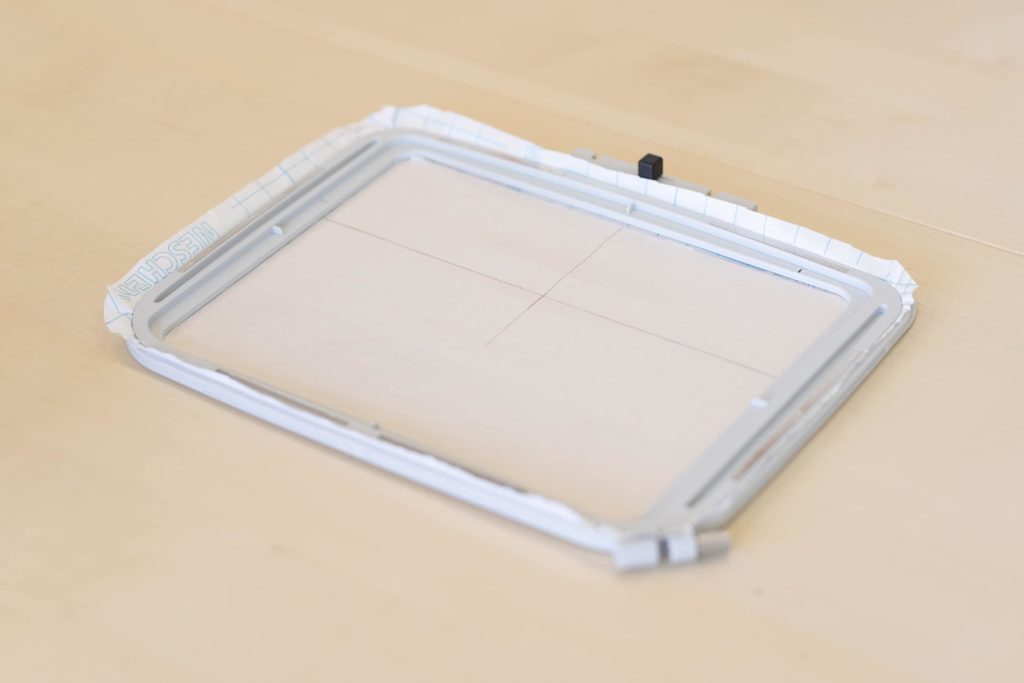
3.
Use as stabilizer a non-woven self-adhesive backing and place it in the hoop with the paper on top. Using a pin, make a scratch on the paper. This will help you tear it off over the entire surface of the hoop.
4.
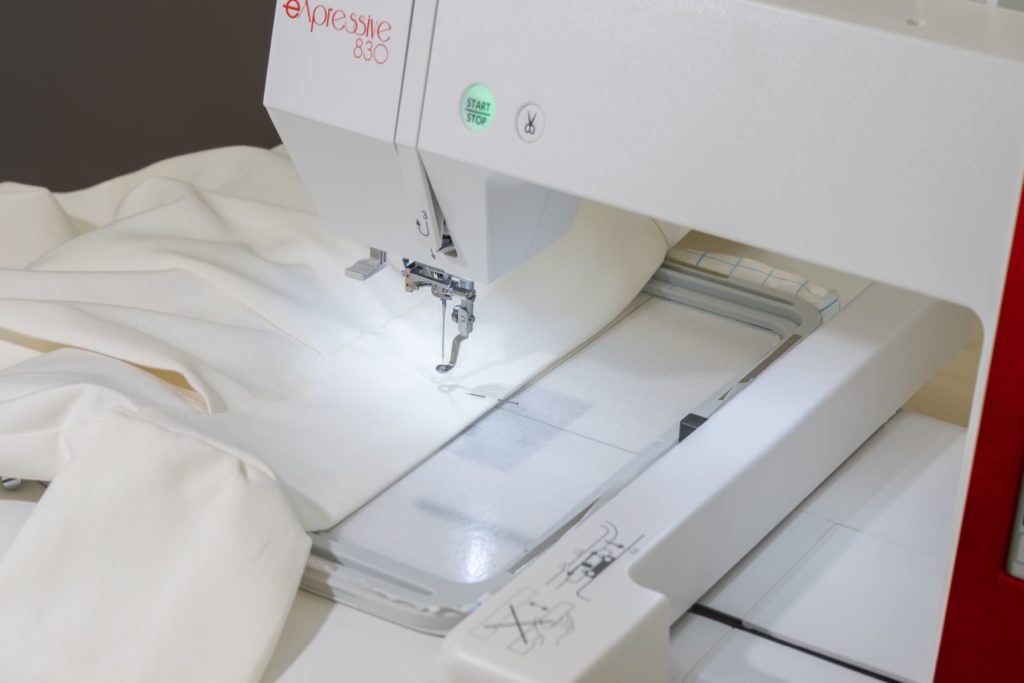
Place the pants on the stabilizer’s self-adhesive side.
5.
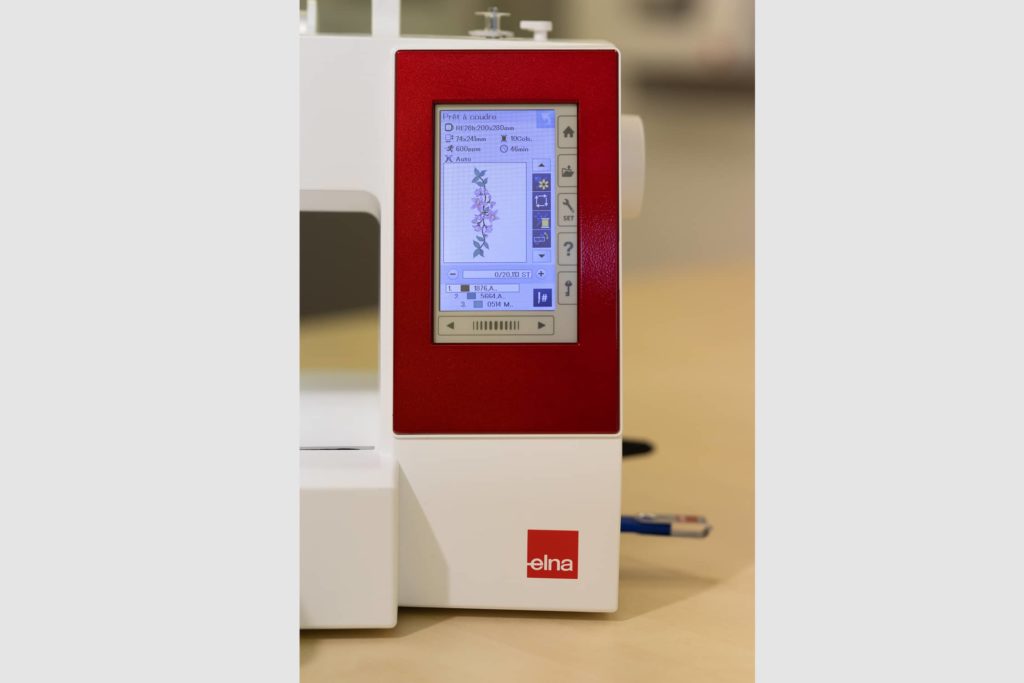
Select the design in our project or another one you have created.
6.
Attach the hoop and embroider a basting stitch to determine the position of your embroidery and modify it if necessary.
7.
When you have finalized your embroidery, remove gently the Filmoplast backing and iron on the wrong side.
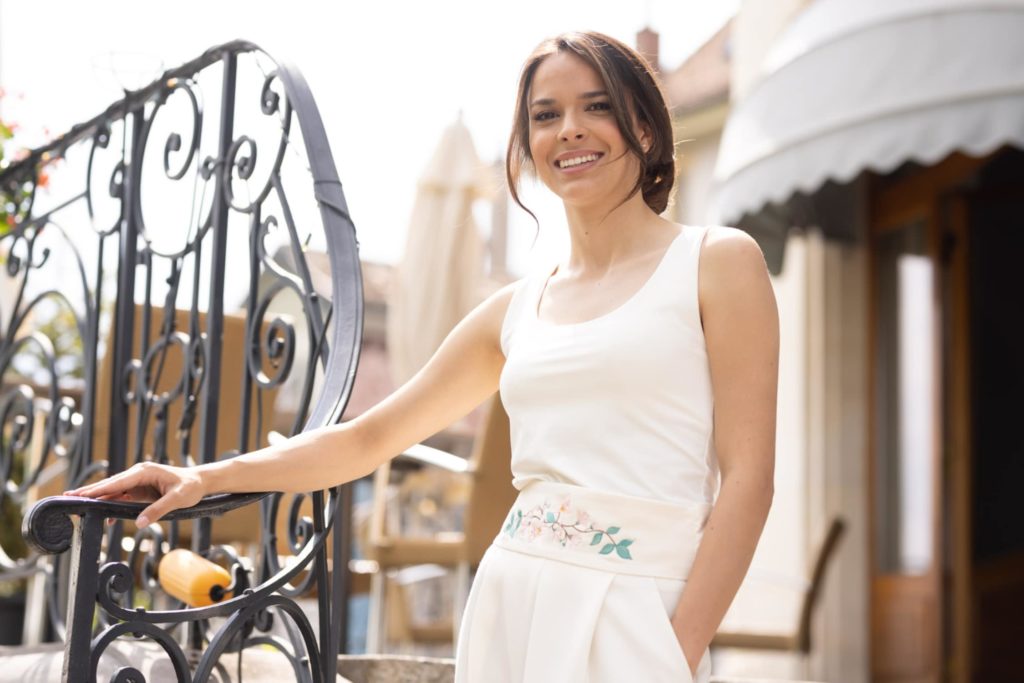
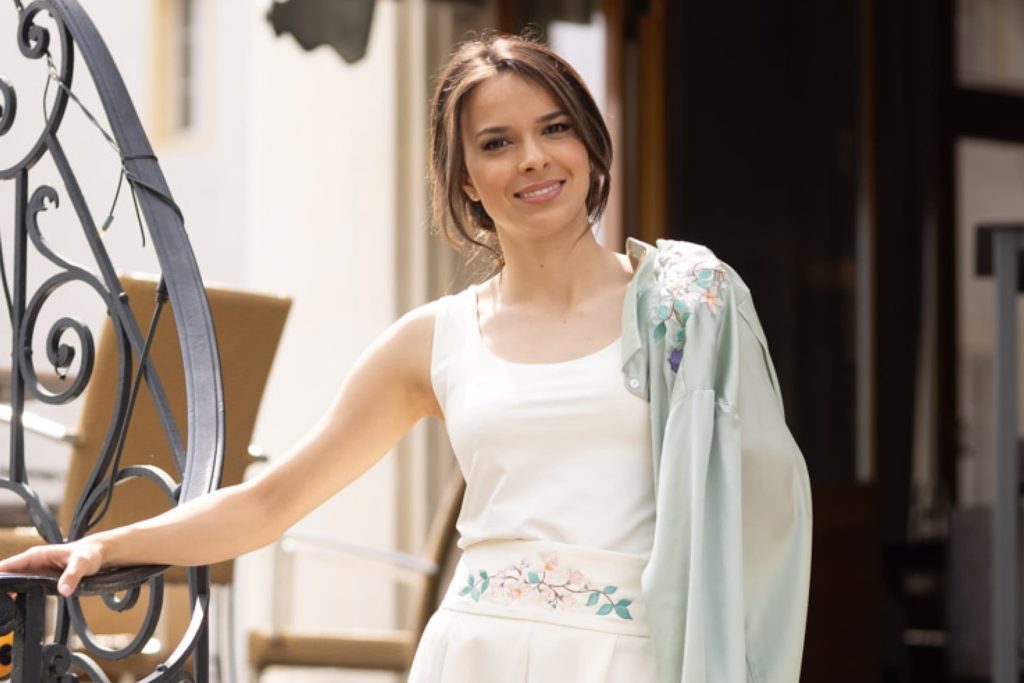
Congratulations! You have just completed your embroidery.
Get a spectacular total look style and embroider a blouse with the coordinated design from our project.
© Elna International Corp. SA, all rights reserved
Copyright
The authorization to use this documentation is hereby granted exclusively for non-commercial use. The contents of this documentation are the sole property of Elna International Corp. SA. This documentation shall not in any way constitute a right to transfer any rights with respect to copyrights of Elna International Corp. SA to the user or to third parties.