Inspirations
SEWING TUTORIAL:
” Blouse with ranglan sleeves “

![]() MATERIALS
MATERIALS
- 120 cm crêpe de chine
- 120 cm double-sided muslin
- 60 x 60 cm fabric decorated with the pattern created with Stitch Composer
- 1 button
- 5 mm wide and 4 cm long loop for the button (created with the muslin scraps)
- sewing thread (fabric colour)
- basting thread, needle, pins, ruler , scissors
![]() ACCESSORIES
ACCESSORIES
- elna electronic sewing machine, from the eXperience or eXcellence series. (eXcellence 780+ in this tutorial for example)
![]() THE PROJECT
THE PROJECT
This light and sumptuous muslin top is lined with a crêpe de chine.
The shoulders with raglan sleeves are decorated with a sublime sewing stitch created in our workshops with our Stitch Composer software.
The sewing stitch is available on our website elna.com under the heading “Inspiration”. (Compatible with eXcellence 780+, eXpressive 860 and 920 machines).
![]() INSTRUCTIONS
INSTRUCTIONS
1.
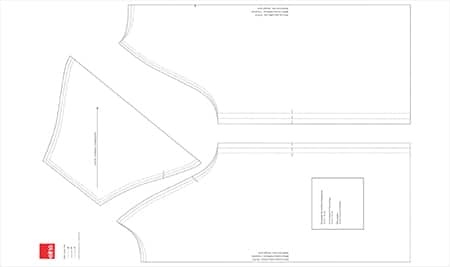
Download the sewing pattern available on this page above. To start, only print the page with the selection window. Using a ruler check that the window measures exactly 10 cm x 10 cm, then print the remaining pages. The pattern is made up of several sheets that must be joined together using the markings (letters and lines). Once the pattern is assembled, adapt the pattern to fit your measurements and cut the pieces.
2.
Cut:
– the front and back (in the fold of the fabric) with 1.5 cm seam allowance on the sides and hem, and 1 cm for the neckline and armholes.
– the sleeves at an angle, leaving 1 cm seam allowance all around.
Cut in the muslin:
– the front and back (in the fold of the fabric) with 1.5 cm seam allowance on the sides and hem, and 1 cm for the neckline and armholes.
Mark the slit on the back.
3.
Sleeves
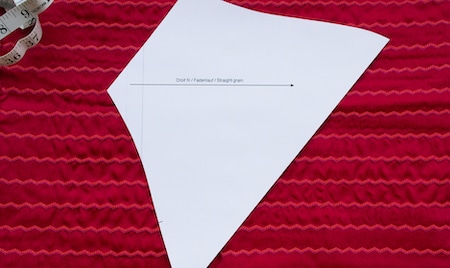
If you have prepared the fabric for the yoke of the sleeves with the Stitch Composer stitch beforehand, cut the sleeves from the fabric, leaving 1 cm of seam allowance all around.
If you don‘t want decorated sleeves, cut the sleeves in the muslin with 1 cm seam allowance all around.
4.
Assembling the sleeves
Muslin
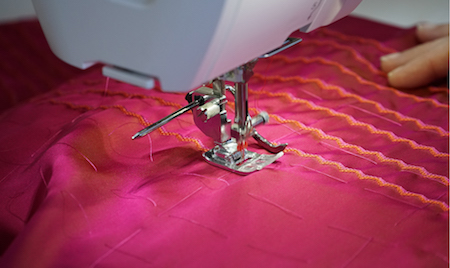
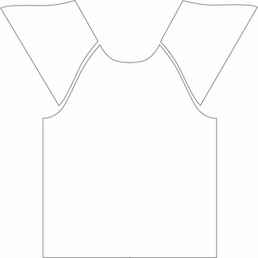
Place the back of the sleeve on the back of the top, right sides together. Pin and baste. Stitch with a straight stitch (1 cm) from the edge.
Assemble the front of the sleeve with the front of the top in the same way. Trim the seam to 5 mm and iron the seams by laying the seam allowances on one side.
Lining
For the lining, proceed in the same way as for the muslin.
5.
Assembling the sides (French seam)
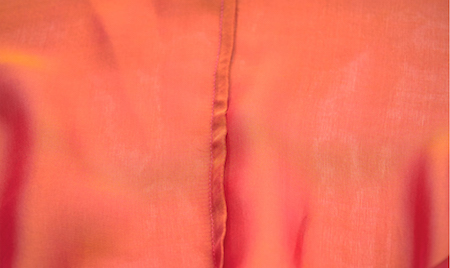
Pin and baste the seam with the wrong side together. Stitch a straight stitch 1 cm from the raw edge. Remove the pins and iron the seam allowances. Trim seam. Encase raw edges by folding seam right sides together so the stitched line is on the fold. Pin and pass a basting thread over the sides.
Stitch seam a second time on the wrong side, 1 cm from finished edge. Turn the fabric inside out again and iron the seam, laying the allowances on one side. For lining, proceed in the same way.
6.
Assembling the neckline
Turn the muslin inside out and place it inside the lining which is on the right side.
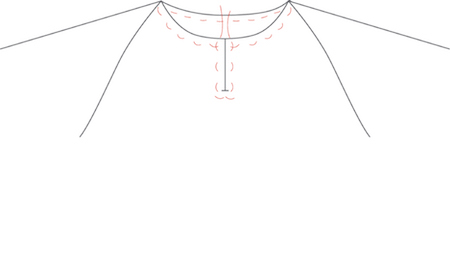
Match the seams of the sleeves and the middle markings on the front and back. Pin and run a basting thread over the neckline.
Place the two markers for the back slit one on top of the other.
7.
Stitch the neckline 1 cm from the raw edge. Iron the seam and trim the seam.
8.
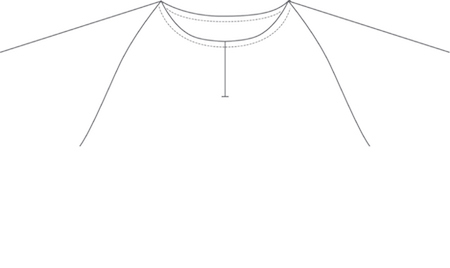
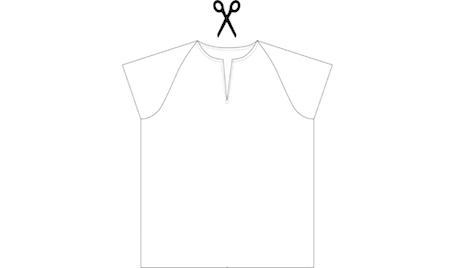
Stitch at 4 mm on both sides of the slit mark. Leave an opening of 1 cm for the button loop. With scissors, cut the two layers of fabric between the two rows of stitches.
9.
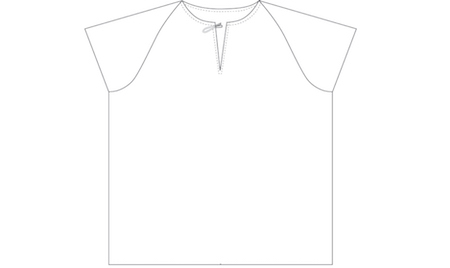
Insert the loop for the button inside and between the who layers of fabric (the space left for it). Pin and fix it with a basting stitch.
10.
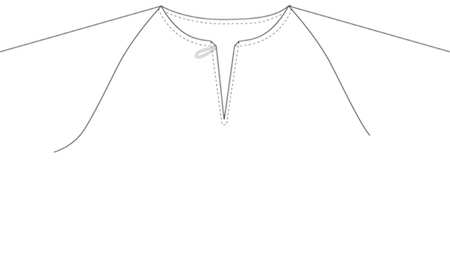
Trim the angles of the back slit, turn the muslin onto the right side again, passing it through the neckline and iron the neckline and the back slit on the right side.
11.
In order to mark and have a more supported neckline, topstitch the neckline (side of the lining) 1/16″ from the
edge by stitching only the lining and the excess seam.
12.
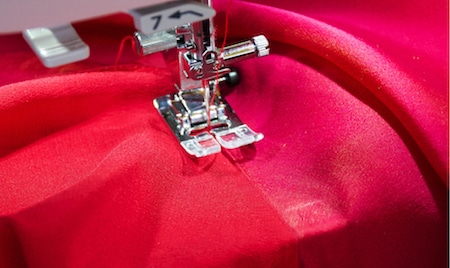
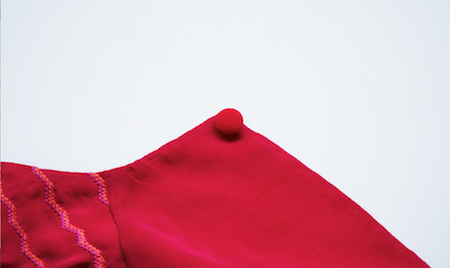
Sew the button onto the other side of the back slit and hand sew in place.
13.
Assembling the sleeve hems
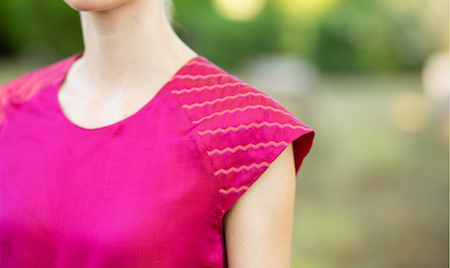
Turn the sleeve hems inside out between the two fabrics. Pin and pass a basting thread along the edge, then stitch 1 cm from the raw edge. Turn the hems back over to the right side, ironing them along the same path, then iron the hems on the right side.
14.
Closing the armholes
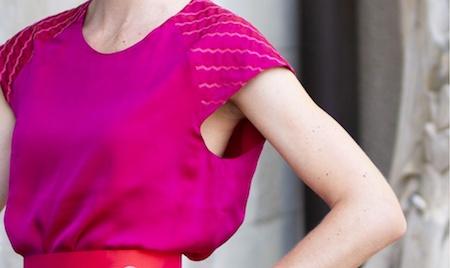
To close the armholes, turn the top inside out again by passing it through the same path as for the hems of the sleeves (between the two fabrics). Lay the muslin against the crêpe, right sides together. Pin and pass a basting thread over the armhole, then stitch 1 cm from the edge. Trim then turn and iron the seams on the right side. to mark and have a more supported neckline, topstitch the neckline (side of the lining) 1/16″ from the edge by stitching only the lining and the excess seam.
15.
Double fold hems
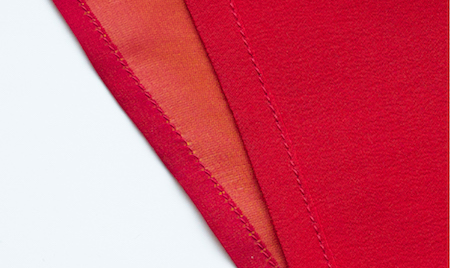
Turn the top inside out. Fold the raw edge of the lining by about 4 mm and iron and repeat with a second 5 mm fold. Pin and pass through a basting thread, then topstitch. Repeat the process for the muslin and iron the hems on the right side.
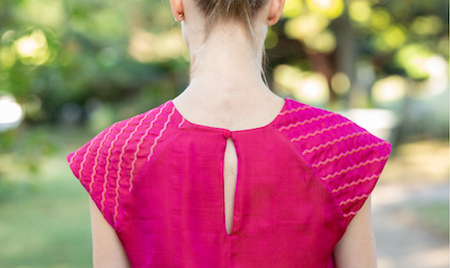
Congratulations ! You are done.
If you want to complete your blouse with the round full skirt shown in the picture, you will find the midi skirt tutorial in the Inspiration section of our website.
The unique sewing stitch created in our workshops with our Stitch Composer software is available here : /exclusive-decorative-pattern/
© Elna International Corp. SA, all rights reserved
Copyright
The authorization to use this documentation is hereby granted exclusively for non-commercial use. The contents of this documentation are the sole property of Elna International Corp. SA. This documentation shall not in any way constitute a right to transfer any rights with respect to copyrights of Elna International Corp. SA to the user or to third parties.


